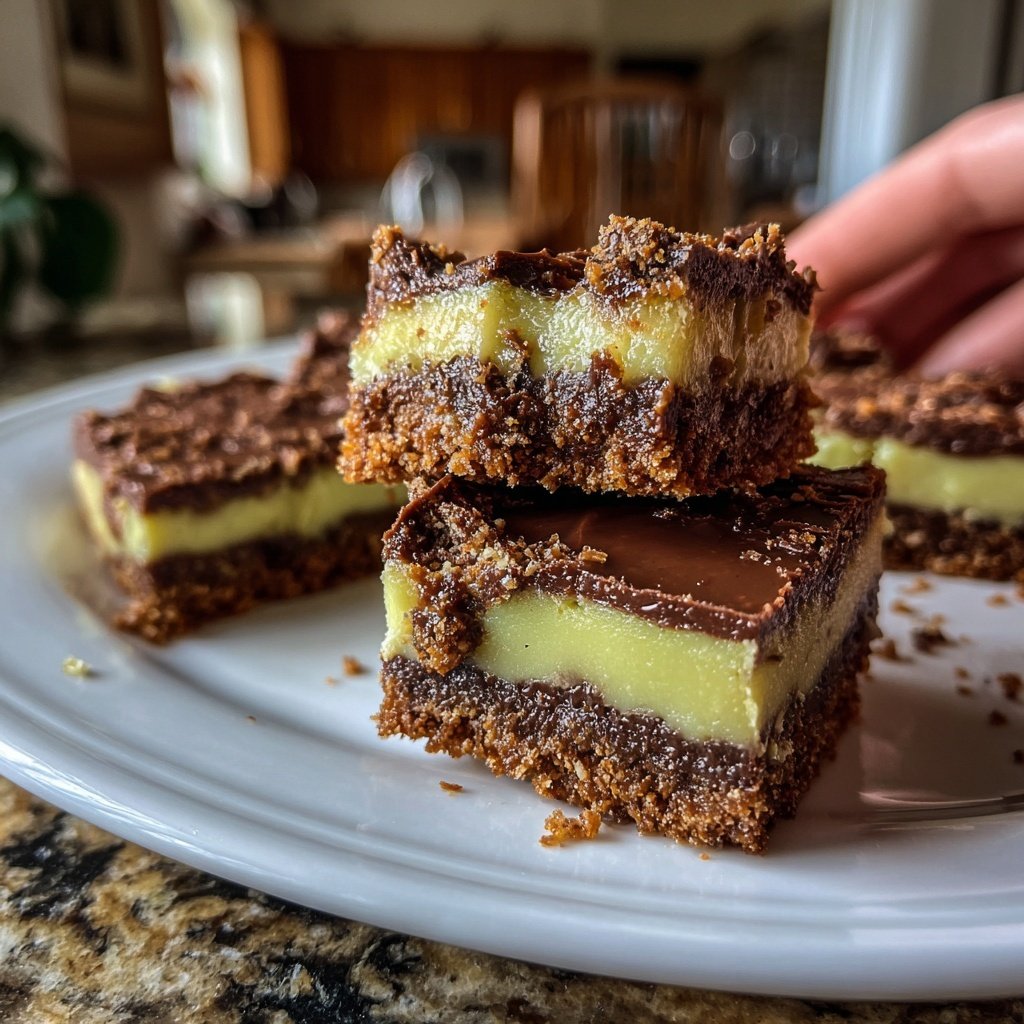
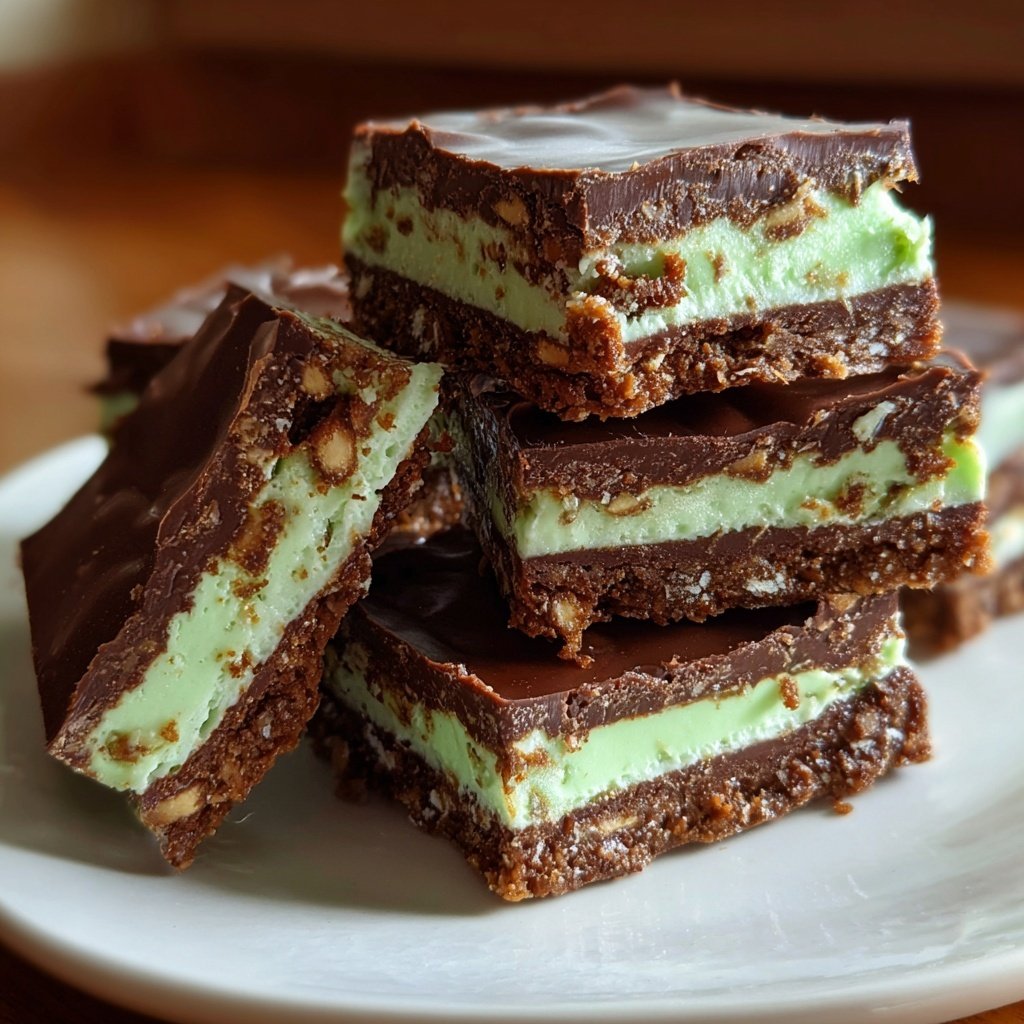
Chocolate Mint Slice Bars
Uitgelicht onder: Ovenideeën
I always find myself looking for a dessert that balances richness with a refreshing twist, and these Chocolate Mint Slice Bars are just perfect. The combination of creamy chocolate and cool mint evokes memories of my childhood, especially during holiday gatherings. The best part? They require no baking! With just a handful of ingredients, I can whip up these delightful bars that are guaranteed to impress friends and family alike. I love how they deliver a burst of flavor in every bite, making them a true crowd-pleaser.
When I first decided to create this recipe, I was inspired by classic desserts that had a fun twist. Growing up, I loved the pairing of chocolate and mint, so I knew I had to incorporate that into a simple, no-bake treat. What I discovered was that the refreshing mint really cuts through the richness of the chocolate, creating a perfect balance. The texture is also key—using crushed cookies as the base gives the bars a delightful crunch that I just can't resist!
One crucial tip I learned while perfecting this recipe was to let the bars chill in the refrigerator for at least an hour. This allows all the flavors to meld together beautifully, and it sets the bars perfectly for slicing. If you’re feeling adventurous, try adding a few drops of peppermint oil to amp up the mint flavor, but be careful not to overdo it; a little goes a long way!
Why You'll Love This Recipe
- Rich chocolate flavor with a refreshing mint twist
- No baking required—easy to prepare
- Perfect for sharing at parties or holiday gatherings
Understanding the Ingredients
The success of your Chocolate Mint Slice Bars lies in the quality of your ingredients. Using high-quality dark chocolate is crucial for the topping, as it provides a rich flavor profile that complements the creamy mint layer. Aim for chocolate with at least 70% cocoa content for a deep, satisfying taste. The cream cheese must be at room temperature to achieve a smooth consistency in the mint layer; cold cream cheese can lead to lumps, affecting the final texture.
The digestive biscuits serve as the foundation of your bars, and crushing them finely will ensure a more even base. If you can't find digestive biscuits, you can substitute them with graham crackers or even Oreo cookies for a twist. Just remember that different biscuits may alter the overall flavor, so choose wisely based on your preference.
Tips for Perfect Layers
When preparing the mint layer, be sure to mix the cream cheese and powdered sugar thoroughly until completely smooth. This step is vital to avoid a grainy texture in the final product. You can use an electric mixer on low speed to make the process easier. If you decide to add food coloring, do so sparingly, as a little goes a long way for that vibrant green touch without overwhelming the mint flavor.
After layering the mint mixture over the base, refrigerate it for a minimum of 30 minutes. This not only helps to firm up the mint layer but also allows the flavors to meld together beautifully, enhancing the overall taste. If you're in a hurry, you can place the pan in the freezer for 15 minutes, but make sure to keep an eye on it to prevent it from freezing solid.
Storing and Serving
Once fully set, these bars can be stored in an airtight container in the refrigerator for up to one week. This recipe is ideal for make-ahead desserts, as the flavors continue to develop in the fridge. If you want to freeze them, cut the bars and layer them between parchment paper in a freezer-safe container. They can be frozen for up to three months, making them perfect for planned gatherings or last-minute cravings.
For serving, consider garnishing with fresh mint leaves or a dusting of cocoa powder for an extra touch of elegance. When cutting the bars, use a sharp knife and wipe it clean between cuts to keep the edges looking neat. This way, each slice showcases the beautiful layers of chocolate and mint, perfect for impressing your guests.
Ingredients
For the Base
- 200g digestive biscuits, crushed
- 100g unsalted butter, melted
- 2 tablespoons granulated sugar
For the Mint Layer
- 250g cream cheese, softened
- 100g powdered sugar
- 1 teaspoon peppermint extract
- Green food coloring (optional)
For the Chocolate Topping
- 200g dark chocolate, chopped
- 2 tablespoons vegetable oil
Instructions
Prepare the Base
In a mixing bowl, combine the crushed digestive biscuits, melted butter, and granulated sugar. Stir until well mixed, then press the mixture into the bottom of a lined 8-inch square baking pan to form an even layer.
Make the Mint Layer
In another bowl, beat the softened cream cheese with powdered sugar and peppermint extract until smooth. If desired, add a few drops of green food coloring for a vibrant mint layer. Spread the mint mixture evenly over the baked crust and refrigerate for 30 minutes to set.
Prepare the Chocolate Topping
Melt the chopped dark chocolate with the vegetable oil in a microwave-safe bowl, checking every 30 seconds until smooth. Pour the melted chocolate over the mint layer and spread it evenly. Return to the refrigerator for another 30 minutes to set.
Slice and Serve
Once set, remove from the pan and cut into squares. Serve chilled and enjoy the combination of flavors!
Professionele Tips
- For a little extra flair, sprinkle crushed peppermint candies on top of the chocolate before it sets.
Troubleshooting Common Issues
If your chocolate topping doesn’t spread smoothly, it may be because it has cooled too much. To remedy this, you can gently reheat it in the microwave in 10-second intervals, stirring after each until it’s glossy and warm. Also, ensure that the vegetable oil is fully incorporated; this can help achieve that shiny finish while preventing the chocolate from setting too quickly.
Should your mint layer not set properly, it’s likely that the cream cheese was not whipped enough or that it was incorporated without reaching a smooth consistency. Next time, beat the mixture until it’s bubble-free and silky. If you're worried about it not firming up, consider adding a small amount of gelatin or a similar stabilizer next time.
Flavor Variations
To mix things up, you might want to experiment with different flavors in the mint layer. Instead of peppermint extract, try using spearmint or even a hint of orange zest for a citrus twist. Alternatively, adding a dash of coconut extract can bring an intriguing flavor dimension that pairs surprisingly well with chocolate.
If you’re looking to enhance the visual appeal of your bars, consider adding some crushed mint candies or chocolate shavings on top of the chocolate layer before it sets. This not only adds texture but also a burst of minty flavor that complements the overall profile of the bars. Don't be afraid to get creative!
Vragen Over Recepten
→ Can I use a different type of cookie for the base?
Absolutely! Graham crackers or Oreos can work great as alternatives.
→ How long do these bars stay fresh?
They can be stored in the fridge for about a week, but I doubt they’ll last that long!
→ Can I freeze these bars?
Yes, you can freeze them for up to 2 months. Just make sure to wrap them tightly.
→ What can I use instead of cream cheese?
You can try using mascarpone cheese or a vegan cream cheese substitute for a different flavor profile.
Chocolate Mint Slice Bars
Wat je Nodig Hebt
For the Base
- 200g digestive biscuits, crushed
- 100g unsalted butter, melted
- 2 tablespoons granulated sugar
For the Mint Layer
- 250g cream cheese, softened
- 100g powdered sugar
- 1 teaspoon peppermint extract
- Green food coloring (optional)
For the Chocolate Topping
- 200g dark chocolate, chopped
- 2 tablespoons vegetable oil
Stappen
In a mixing bowl, combine the crushed digestive biscuits, melted butter, and granulated sugar. Stir until well mixed, then press the mixture into the bottom of a lined 8-inch square baking pan to form an even layer.
In another bowl, beat the softened cream cheese with powdered sugar and peppermint extract until smooth. If desired, add a few drops of green food coloring for a vibrant mint layer. Spread the mint mixture evenly over the baked crust and refrigerate for 30 minutes to set.
Melt the chopped dark chocolate with the vegetable oil in a microwave-safe bowl, checking every 30 seconds until smooth. Pour the melted chocolate over the mint layer and spread it evenly. Return to the refrigerator for another 30 minutes to set.
Once set, remove from the pan and cut into squares. Serve chilled and enjoy the combination of flavors!
Extra Tips
- For a little extra flair, sprinkle crushed peppermint candies on top of the chocolate before it sets.
Voedingswaarde (Per Portie)
- Calories: 210 kcal
- Total Fat: 14g
- Saturated Fat: 8g
- Cholesterol: 30mg
- Sodium: 80mg
- Total Carbohydrates: 18g
- Dietary Fiber: 1g
- Sugars: 12g
- Protein: 2g